UPDATE: (05/01/2012) A couple of people have pointed out Dropbox ServiceMenu as an add-on to this tutorial and to your KDE installation. I haven’t used it, but it seems it is pretty popular.
A question I have been coming across a lot lately has been, “How do I get Dropbox to work with KDE?” Most have probably noticed that when you go to the Dropbox website and go to download it, it is for GNOME and the Nautilus file manager. Unfortunately for us KDE users, we don’t use Nautilus. Or I could say fortunately for us KDE users, but I am sure that will start all kinds of flame wars in the comments. Instead, KDE utilizes Dolphin as its file manager. I will use this post to show you how to quickly get Dropbox installed and up-and-running in KDE, without the use of the terminal or command line.
NOTE: In this tutorial I am using the Rekonq web browser for KDE. At the time of this tutorial, it is the default web browser for Kubuntu.
NOTE: After completing the Download Dropbox selection below, you can scroll down to the bottom of this post to see how to do all of this via the command line. It is actually really simple and much faster. If you are uncomfortable with the command line, then follow this post completely, minus the end where I show you the command line way of course.
Download Dropbox
Here are the links to the latest Dropbox downloads. NOTE: these links will always be the latest version of Dropbox, so if you come here next year, this simple howto will still be valid. If anything changes, I will make sure to update this page:
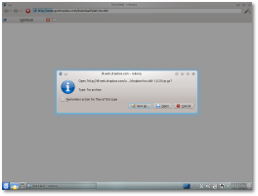
Clicking on one of the links above will pop up the Save As dialog. Click the Save As button.
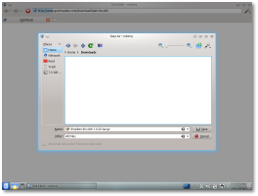
In the Save As dialog, click the Home button and select the Downloads folder to save the file in.
Extract the Dropbox archive
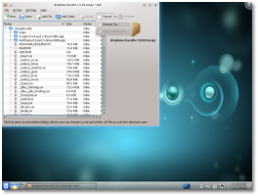
The file that is downloaded for Dropbox is known as a tarball. It is similar to a Zip file if you are coming from the Windows world. To extract this file we will use Ark, KDE’s archiving tool. To open Ark, click on the menu button, select the Applications tab, scroll down to the Utilities section and click it, then once that is open you should see Archiving Tool or Ark depending on how your distribution has it in the menu. Once Ark is open, click on the Open button. Here you will be presented with an Open Dialog where you can select the file that you downloaded. Navigate to your Home/Downloads directory and select the Dropbox file.
Once the file has opened in Ark, the next thing to do is extract it. To do this click the Extract button towards the top. The only option you should have is Extract To…
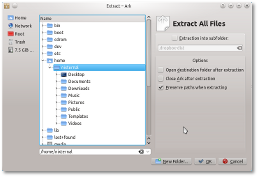
Select it and you will be presented with the Extract dialog where you can select the location you want to extract it to. Select your username in the folder list, as this is where you want to extract it to.
Configure Dropbox to run at start-up
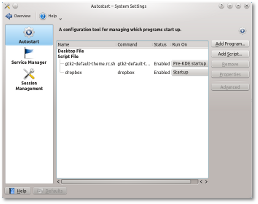
You will definitely want Dropbox to start every time you log into your computer. To do this is really easy. Open System Settings by going to the KDE menu once again. Most distributions stick the System Settings icon in your Favorites tab, so when you click the menu button, you should see it right away. Click it if you do. If you do not see it, don’t worry. You will need to go to the Applications tab, scroll down to the Settings section, and in there you should see System Settings. Click it to open it. Once it is open at the bottom, in the System Administration section, there should be an icon labeled, Startup and Shutdown. Click it. Once that is open, in the right pane you should see 5 buttons. You want to select the button labeled Add Script…. This will pop up a small dialog for you to select the Dropbox script we want to run at startup.
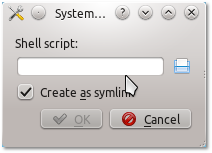
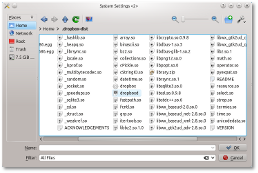
Click the small folder to the right of the text input box. You should be presented with a System Settings open dialog. In order to see the folder and script that was extracted from the Dropbox download, we need to make sure that Show Hidden Files is selected.
Once all files are showing, click the .dropbox-dist folder and scroll until you see the file named dropboxd.
NOTE: Select dropboxd, not dropbox, as shown in the above image.
Once you have selected it click OK if needed, now you should be back at the small popup dialog. Go ahead and click the OK button. You should be back to the main System Settings window now.
You can close out of System Settings now.
Running Dropbox for the first time
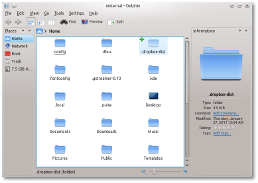
Open Dolphin, the file manager, by going to the KDE menu button and under Applications, System, there should be a menu item labeled either File Manager or Dolphin. Click it. Once Dolphin is open and in your Home folder, we will need to view all hidden files again. To do this, click the View menu item and about half way down is the Show Hidden Files item. Click it. Now you should see all hidden files and folders. You will want to find the folder named .dropbox-dist and click it.
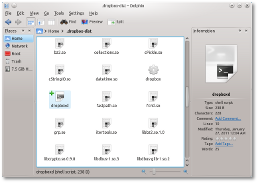
Scroll down until you see the file named dropboxd. Note once again that it is dropboxd that you want.
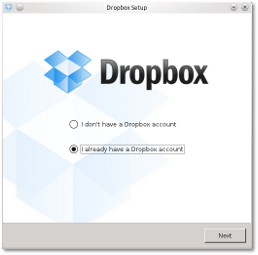
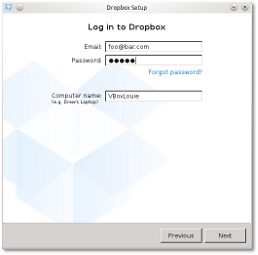
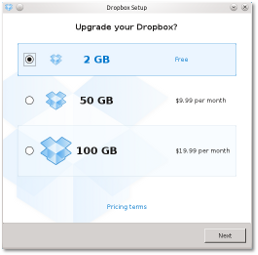
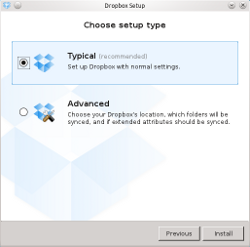
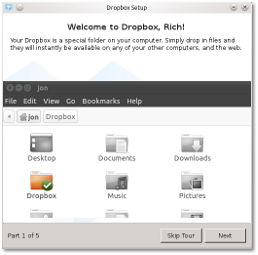
You will now be presented with the Dropbox application setup dialog. Go through and answer the questions.
That’s it, Dropbox is up and running and will start every time you log into your desktop. If all went well you should see the Dropbox icon in your System Tray.

Install the quick way with the command line
Now that you have the Dropbox file downloaded to your computer, open up your terminal (Konsole is the default in KDE) and type the following commands, or copy & paste the following (you should see 4 lines total):
cd
tar -xf Downloads/dropbox*.gz
ln -s .dropbox-dist/dropboxd .kde/Autostart/dropboxd
.dropbox-dist/dropboxd &
That’s all folks, enjoy, and thanks for stopping by!
